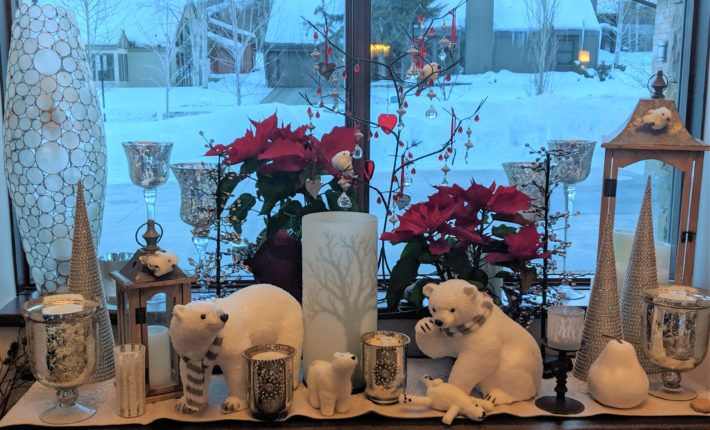
I love to re-purpose things! Even my Christmas decor. Depending on the busy-ness of the months after the holidays, my decor planning has a method to its madness; especially my entry table. My mood drives me as the decorating season begins (woodsy, earthy, glitzy), and this year as I was setting up my table, I had in mind how I could easily make this winter Christmas wonderland transition into it’s next life; Valentine’s Day. The frosty winter woodland animals easily speak winter , and the vibrant red poinsettias (that I didn’t kill) definitely pop with Valentine color. Enter the dangling red hearts and teardrops to the already existing sparkly tree and voila, it’s the season of love. And I hardly had to move a thing. Now that’s some bang for my time stretched buck! So when deciding whether that red or green decor will be added to your Christmas stash, think re-purpose! Green for St. Patrick’s Day, Spring, and Easter, heck even Arbor day if that’s your thing…, and red for Christmas of course, Valentine’s Day and Fourth of July! With the last couple of winters in my mountain town, who knows… the frosty woodland scene may even still apply come July! OY!
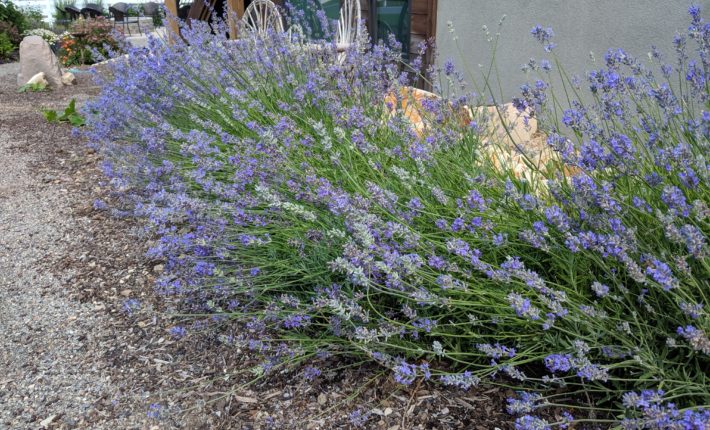
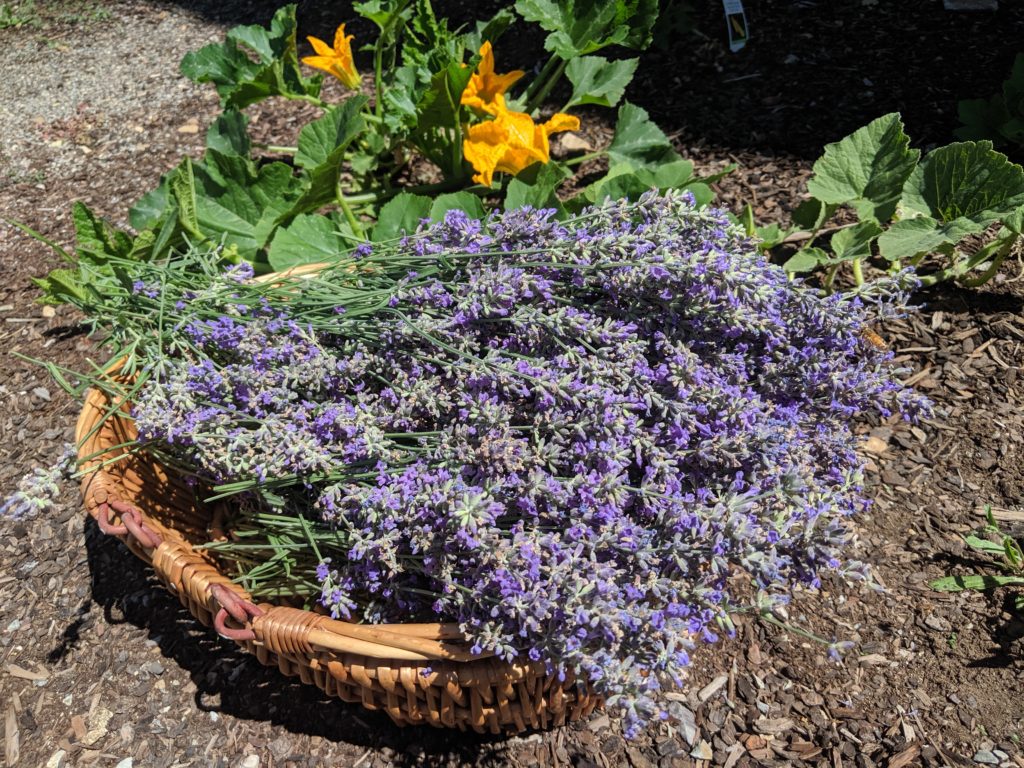
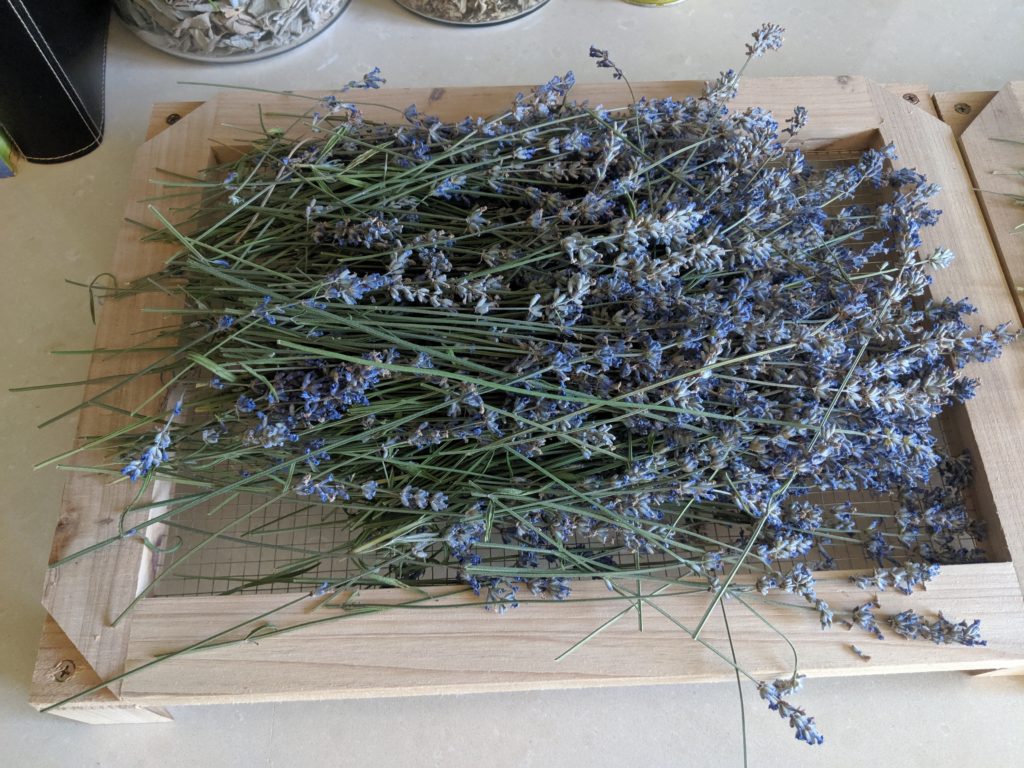
Lavande Harvest 2019
These blessed purple blossoms are ready for harvest. Full of pungent fragrance and peacefully invigorating thought. And after a trip to France this past Spring, mean much more than ever. Vive’ lavande’!
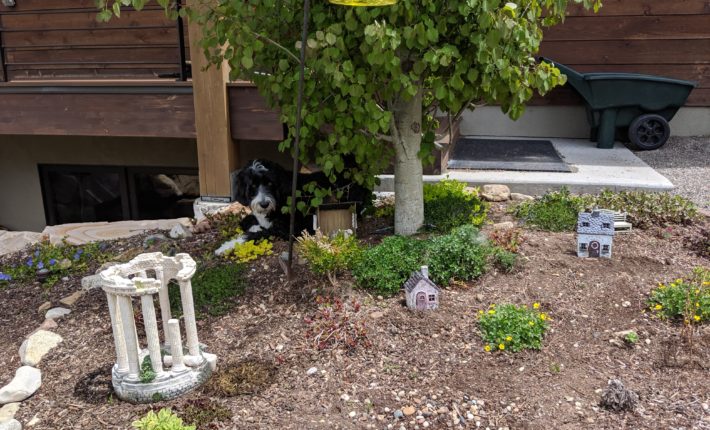
Time to mini!
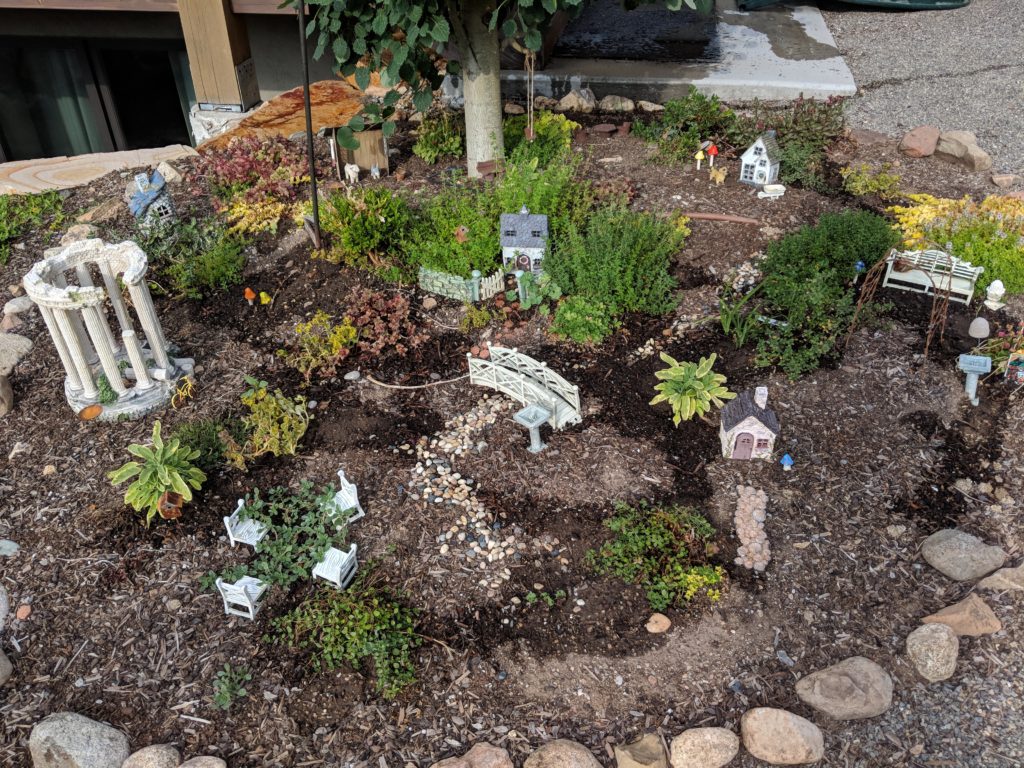
Time to spruce up the mini-garden for the season with my ever helpful(?) side-kick… always finding the best shade.
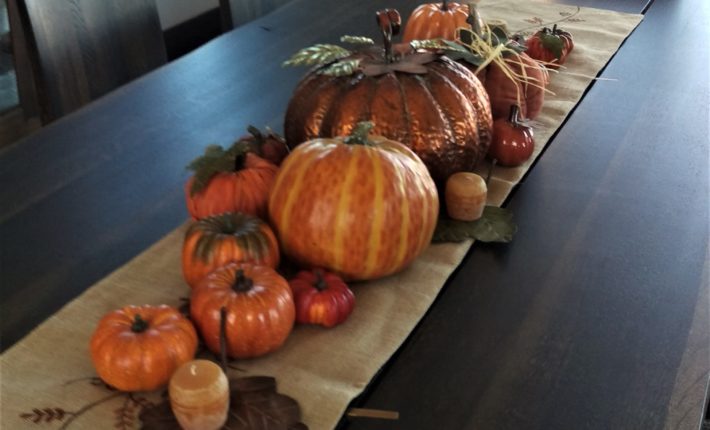
It’s pumpkin time!

Centerpieces don’t have to be tough or time consuming to pull off. Especially when they will be displayed for such a short time. Simply create your own pumpkin patch. Gather whatever pumpkins you have on hand or that strike your fancy and begin building with larger pumpkins in the middle and graduating to smaller pumpkins on the ends. If your table is circular, stagger smaller pumpkins around the larger ones placed in the middle. The more texture, and color differences you can achieve the better. Voila! Talk about simple! Don’t forget the candles to finish it off.
Prepare like a squirrel!
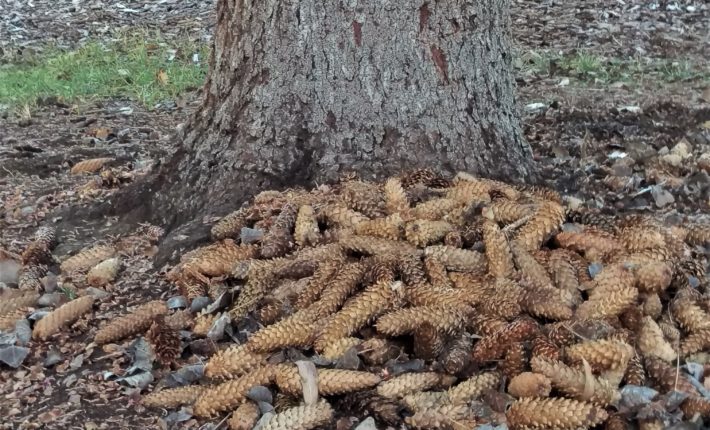
Every Fall I get the urge to nestle in, to bring in the harvest, prepare my surroundings and batten down the hatches for winter. My canning pots seem to stand at attention, my work room and garage burst with upside down herbs being dried for tomorrow. I’m an optimist, but there is a lot of uncertainty in our world and I take advantage of this changing season as my time to prepare. On one of my recent walks I was reminded that I am not the only one that feels this way. Remember the old tale of the ant and the grasshopper preparing for winter? One storing like a mad man, the other frittering away time soon to regret it (I forget which is which)? Well my squirrel friend and I remember that story. At the base of this tall pine tree rests her cone collection which she hopped from branch to branch to collect. It was quite the size-able pile. Each day as I would walk by it grew, and then shrank and shrank as she carted them one by one up the tree to her hiding place. It was impressive. For some, storing and preparing is an innate thing. I am one of those that finds it highly satisfying! My squirrel friend is too I would venture. Must be kindred spirits she and I. I encourage you to look for ways to prepare your home, pantry, and surroundings. You’ll be surprised what you can store, preserve, or squirrel away for your rainy day, and I would think that when you are finished, you’ll be glad you did!

Miniature Gardening: Try it!!
As promised, here is my “outdoor” miniature gardening tutorial. See my other blog post for the “indoor” version.

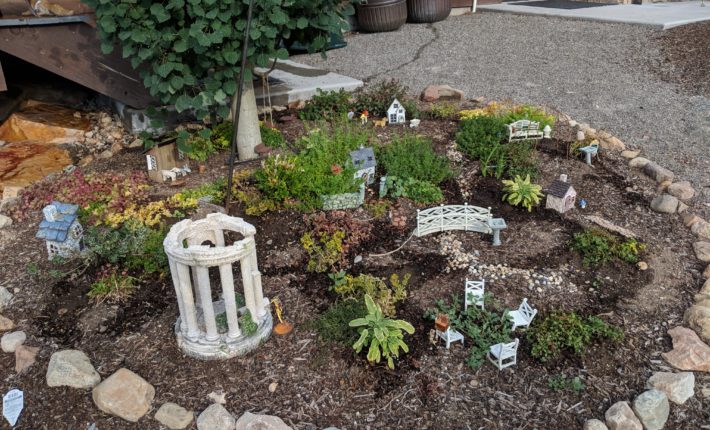
Start by choosing the spot that will house your mini garden. I use mainly perennials so my spot is permanent (unless swayed by the next whim). Begin by laying out your hard-scape structures (you can find these online or at many garden stores). I use houses, benches, arbors, bridges, chairs, animals, etc. This allows you to see what you have, and plan the lay-out of your garden.

Next step is to prepare the garden. Just like you would in the rest of your garden beds, amend the soil by digging and loosening, and add some new top soil to freshen it up. I like to delineate my garden with a border of rocks (or bricks, or whatever you choose). This allows it to stand alone for surrounding gardens and be a focal point.

Next, I place my hard-scapes. This is like the bones of the project that gives structure. I design the flow of the garden by creating cut-outs for stream beds, mounds for interest, with thoughts of “what would I like it to look like if it were a full size garden.” Think enchanting.
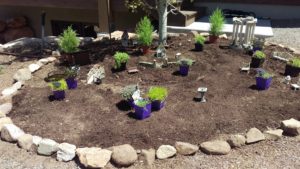
Now comes plant placement. When choosing mini garden plants, I make sure to pick rock garden type plants that will keep somewhat of a low profile and only need to be trimmed slightly. I also choose hardy perennials for my winter climate. I vary color, texture, variety, flowering habits, and pick things that will thrive in my level of sun exposure. Mini shrubs are also great choices that give structure. I place the plants around, and then step back and check for balance.
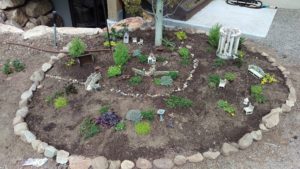
Now dig it! In go the plants. It seems each year I add more as some don’t make it through the winter, and also because I want my garden to eventually be lush. Just like in your “big” garden, it takes some time to get plants established and to fill out and mature.
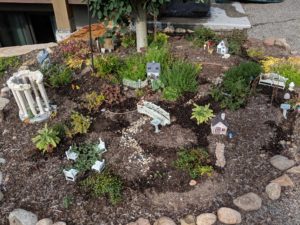
The finishing touches are the rock pathways and stream beds, as well as bird houses, a swing in the tree, and the critters and creatures that will inhabit my garden. I don’t use fairies, that’s just me. I prefer woodland creatures and critters. Next year I plan to add more plants, a fire pit, and who knows what else. Make sure to water, water, water while those cute roots are getting established, and an occasional fertilizing session or soil amendment helps too.
The last step (for now) is to step back, admire your work, and enjoy! Keep your eyes open… you never know who might show up for a visit in your garden! Happy mini!
Mini Gardening Tutorial: My New and Old Obsession
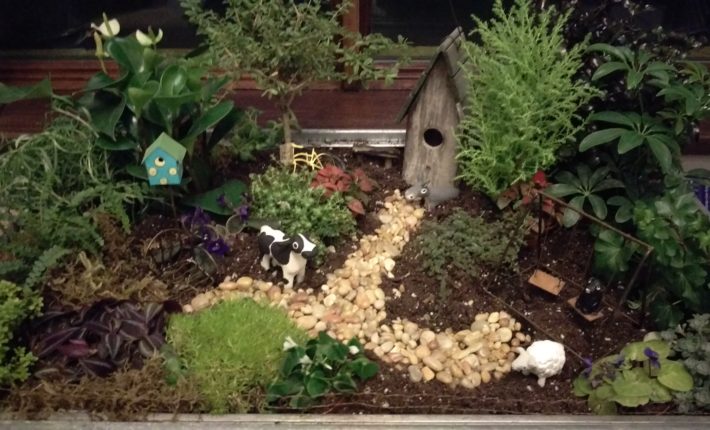
When I was working at Weston Nurseries in New England in 2003, I became obsessed with a trend that was sweeping the East Coast, mini/fairy gardening. My sweet mother was also the beneficiary of this trend as I got her hooked while sending her items each holiday or birthday. When she would come to MA for a visit, she would wander the nursery where we had our fairy gardens displayed and make my obliging daddy take pictures from every angle. I love most anything miniature! Mini furniture, birdhouses, animals, pathways, mini plants, oh I can’t help myself! When the craze made its way to the West Coast I shouted a renewed WOO HOO and dug out all of my mini’s and the ones I had inherited as well. Whether displaying indoors or out, with fairy residents or not, you can make these gardens come to life for you too, and i’ll show you how! I dare say you might even become obsessed… I hope so anyway.
This projects focuses on my indoor garden for now, as my mountain town is still blanketed in snow. I love this wonderful way to bring the outdoors in, smell the dirt, and experience something live until I can fling my doors and windows open wide.
You will need:
A container (there is no wrong size just pick one suitable for your space), a piece of plastic or large garbage bag, large pebbles enough to layer in the bottom of your container, potting soil, selected plants, mini accessories of your liking (you can find these online or many garden stores carry them, shout out to Sun River Gardens, my personal favorite), a bag of small pebbles for a pathway, and a small watering can.
Keeping it simple… decluttering your home and your mind!

We recently finished building a new home. In designing our home we went from years and years of our “eclectic style” to Rustic Contemporary in one move. We had carried with us pieces of each stage of our home life; newly married hodgepodge, Farmhouse Country, New England Primitive, Cape Cod, Mountain Rustic, and a smattering of this and that’s. Use your imagination people! Continue Reading
